Angel Baby Diapers Sewing Pattern
Print and cut out your pattern. You may want to trace it onto something sturdier, like carstock or construction paper. (The pdf links for the Angel Baby Diapers Pattern are listed below.)
Angel Baby Diaper (s-m)
Angel Baby Diaper (L)
Angel Baby Diaper (s-m)
Angel Baby Diaper (L)

Place yourprinted fabric and your softer inner fabric (such as fleece) together, "right" sides facing in. Lay your pattern cut out on top of you fabric and trace all the way around it.

Pin your fabric together to hold you pattern toget her.
her.
 her.
her.Now cut out your diapers.

Sew around your diapers, leaving a small gap in one end.

Turn your fabric so that it is right side out (this is why you leave a gap).
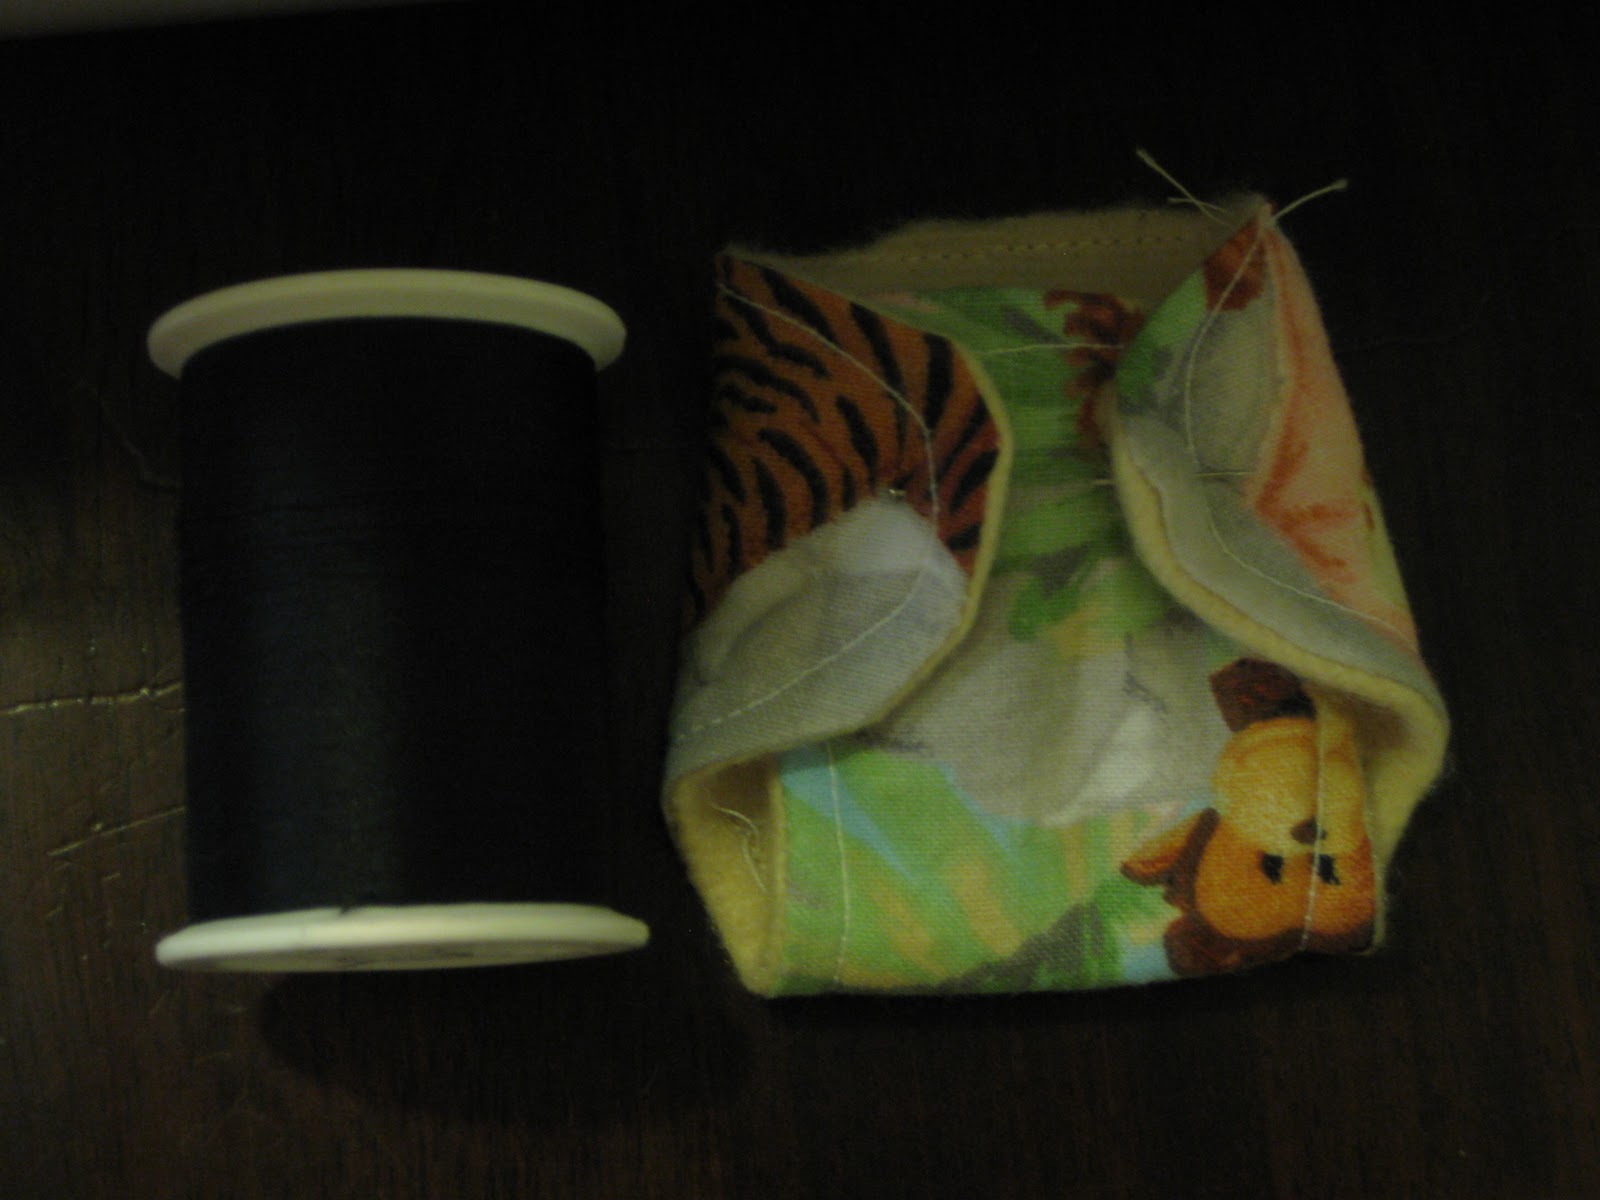
After turning the diaper right side out, topstitch all the way around, closing the gap.

Now add velcro to the front and tabs of you diaper.

All done!

If you have any questions, please feel free to ask!

*Note: The Angel Baby Diapers Pattern includes a 1/4" seam allowance. If you do not need the seem allowance, simply cut you pattern along the inner line.
Angel Baby Diapers Crochet Pattern (small)

Materials Needed:
Worsted Weight Yarn
Size F Crochet Hook
One Small Button
R1-
Ch11sc in second ch from hook and in each st accross
Ch1, turn (10 st)
R2-
sc in each st accrossCh1, turn (10 st)
R3-
1 dec st in first 2 stsc in next 8 st
1 dec st in last 2 st
Ch1, turn (8 st)
R4-
sc in each st accrossCh1, turn (8 st)
R5-
1 dec st in first 2 stsc in next 6 st
1 dec st in last 2 st
Ch1, turn (6 st)
R6-9
sc in each st accrossCh1, turn (6 st)
R10-
2 sc in first stsc in next 4 st
2 sc in last st
Ch1, turn (8 st)
R11-
sc in each st accrossCh1, turn (8 st)
R12-
2 sc in first stsc in next 6 st
2 sc in last st
Ch1, turn (10 st)
R13-
sc in each stitch accrossCh1, turn (10 st)
R14-
2 sc in first stsc in next 8 st
2 sc in last st
Ch1, turn (12 st)
R15-18
sc in each st accrossCh1, turn (12 st)
Finish off work at the end of R18
Wings (leave about a 6" tail on each wing for sewing onto diaper)

short wing:
Ch5R1-
sc in second ch from hook and in each st accrossCh1, turn (4 st)
R2-4
sc in each st accross
Ch1, turn (4 st)
Finish off at end of R4
long wing:
Ch13R1-
sc in second ch from hook and in each st accrossCh2, turn (12 st)
R2- (this will create button holes)
HDC in each st accrossCh1, turn (12 st)
R3-
sc in each st accrossFinish off at end of R3
*stitch wings to back, top, of diaper
*sc around entire diaper (after adding wings) for a nice finished look
*add small button to short wingAll Done!!!

Medium
R1-
Ch15
sc in second ch from hook and in each st accross
Ch1, turn (14 st)
sc in second ch from hook and in each st accross
Ch1, turn (14 st)
R2-
sc in each st accross
Ch1, turn (14 st)
sc in each st accross
Ch1, turn (14 st)
R3-
1 dec in first 2 st
sc in next 10 st
1 dec in last 2 st
Ch1, turn (12 st)
1 dec in first 2 st
sc in next 10 st
1 dec in last 2 st
Ch1, turn (12 st)
R4-
sc in each st accross
Ch1, turn (12 st)
sc in each st accross
Ch1, turn (12 st)
R5-
1 dec in first 2 st
sc in next 8 st
1 dec in last 2 st
Ch1, turn (10 st)
1 dec in first 2 st
sc in next 8 st
1 dec in last 2 st
Ch1, turn (10 st)
R6-
sc in each st accross
Ch1, turn (10 st)
sc in each st accross
Ch1, turn (10 st)
R7-
dec in first 2 st
sc in next 6 st
dec in last 2 st
Ch1, turn (8 st)
dec in first 2 st
sc in next 6 st
dec in last 2 st
Ch1, turn (8 st)
R8-13
sc in each st accross
Ch1, turn (8 st)
sc in each st accross
Ch1, turn (8 st)
R14-
2 sc in first st
sc in next 6 st
2 sc in last st
Ch1, turn (10 st)
2 sc in first st
sc in next 6 st
2 sc in last st
Ch1, turn (10 st)
R15-
sc in each st accross
Ch1, turn (10 st)
Ch1, turn (10 st)
R16-
2 sc in first st
sc in next 8 st
2 sc in last st
Ch1, turn (12 st)
2 sc in first st
sc in next 8 st
2 sc in last st
Ch1, turn (12 st)
R17-
sc in each st accross
Ch1, turn (12 st)
sc in each st accross
Ch1, turn (12 st)
R18-
2 sc in first st
sc in next 10 st
2 sc in last st
Ch1, turn (14 st)
2 sc in first st
sc in next 10 st
2 sc in last st
Ch1, turn (14 st)
R19-
sc in each st accross
Ch1, turn (14 st)
sc in each st accross
Ch1, turn (14 st)
R20-
2 sc in first st
sc in next 12 st
2 sc in last st
Ch1, turn (16 st)
2 sc in first st
sc in next 12 st
2 sc in last st
Ch1, turn (16 st)
R21-
sc in each st accross
Ch1, turn (16 st)
sc in each st accross
Ch1, turn (16 st)
R22-
2 sc in first st
sc in next 14 st
2 sc in last st
Ch1, turn (18 st)
2 sc in first st
sc in next 14 st
2 sc in last st
Ch1, turn (18 st)
R23-26
sc in each st accross
Ch1, turn (18 st)
Finis off work at end of R26
sc in each st accross
Ch1, turn (18 st)
Finis off work at end of R26
Wings
short wing:
Ch7
Ch7
R1-
sc in second ch from hook and in each st accross
Ch1, turn (6 st)
sc in second ch from hook and in each st accross
Ch1, turn (6 st)
R2-4
sc in each st accross
Ch1, turn (6 st)
Finish of at the end of R4
sc in each st accross
Ch1, turn (6 st)
Finish of at the end of R4
long wing:
Ch15
Ch15
R1-
sc in second ch from hook and in each st accross
C1, turn (14 st)
sc in second ch from hook and in each st accross
C1, turn (14 st)
R2-
HDC in each st accross (buttonholes)
Ch1, turn (14 st)
HDC in each st accross (buttonholes)
Ch1, turn (14 st)
R3-
sc in each st accross
Ch1, turn (14 st)
sc in each st accross
Ch1, turn (14 st)
*stitch wings to diaper and add button to short wing
Finished!!!